Time to get everyone up to speed on why it has taken almost six months to get the sim put back together.
I will caveat this post by saying that unless specifically mentioned none of my comments are meant to reflect negatively on any of the hardware providers but are meant to highlight the difficulties presented due to decisions I made picking certain paths in the building process.
My first MIP and was faced with the original FDS signature MIP panels that I sourced from eBay years ago and made out of MDF. All in all, a very nice MIP. I replaced it as I had to move to Europe and knew the MDF would not survive the trip. Lesson learned: If you have a job that may require moving, MDF is not the best material to use. It is good for one or two disassembly’s but eventually the fasteners strip out and the corners get bashed in.
I built my second MIP out of two 4 x 8 foot sheets of steel I brought back from a deployment and square steel tubing. I built it in the US in preparation for my move to Germany as I had materials readily available, and a suitable workshop. I purchased a sheet metal brake, a welder, and many air tools for working metal. I also purchased a powder-coating kit. During the process I learned how to use all those tools and will admit that the MIP came out very well. It was built like a tank and would not only survive the move to Germany (and back if need be) but could probably survive a real crash test. However, while almost perfect it still had issues. I didn’t leave enough space to mount a couple of the gauges, my clocks didn’t fit right, and I never did get the glare shield finished to my satisfaction. I also had the pending move back to the US looming over me, and with a significantly larger build by now, the prospect that I would be well over weight on my shipping allowance.
Armed with the fit problems of my current MIP and a desire to cut back on the weight I began the hunt for a new MIP. After getting a first-hand look at most of the vendors during FSWeekend, and having seen plenty of the FDS MIPs it was down to price. At the end of the day, the best bang for the buck was still for me to order from FDS and have it shipped to Germany. While several European vendors came close, by the time I factored in shipping and VAT they were well above the total price from FDS for the same items (I was also able to realize a significant savings by purchasing the liners at the same time and shipping them together). FDS also worked with me on shipping, ensuring that it went to Stuttgart instead of Frankfurt which made it much easier for me to get through the customs process (I don’t pay customs fees).
Now I will highlight the issues I dealt with in the hopes to save someone else the problems.
-First, it became apparent that I would need new monitors with my FDS MIP. Everything I had read told me that FDS MIP requires 19” widescreen monitors and the monitors I had were not widescreen. I searched out and bought two matching 19” widescreen monitors on eBay. When they arrived they didn’t fit. I finally went back to FDS and asked for some specific models and learned that the best monitor is actually an 18.5” Widescreen (also called a 19” widescreen). eBay came through again. Incidentally, if anyone wants two 19” widescreen monitors in great condition, let me know. I can ship to the US, and Europe.
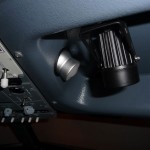
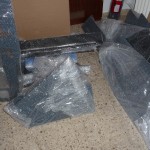
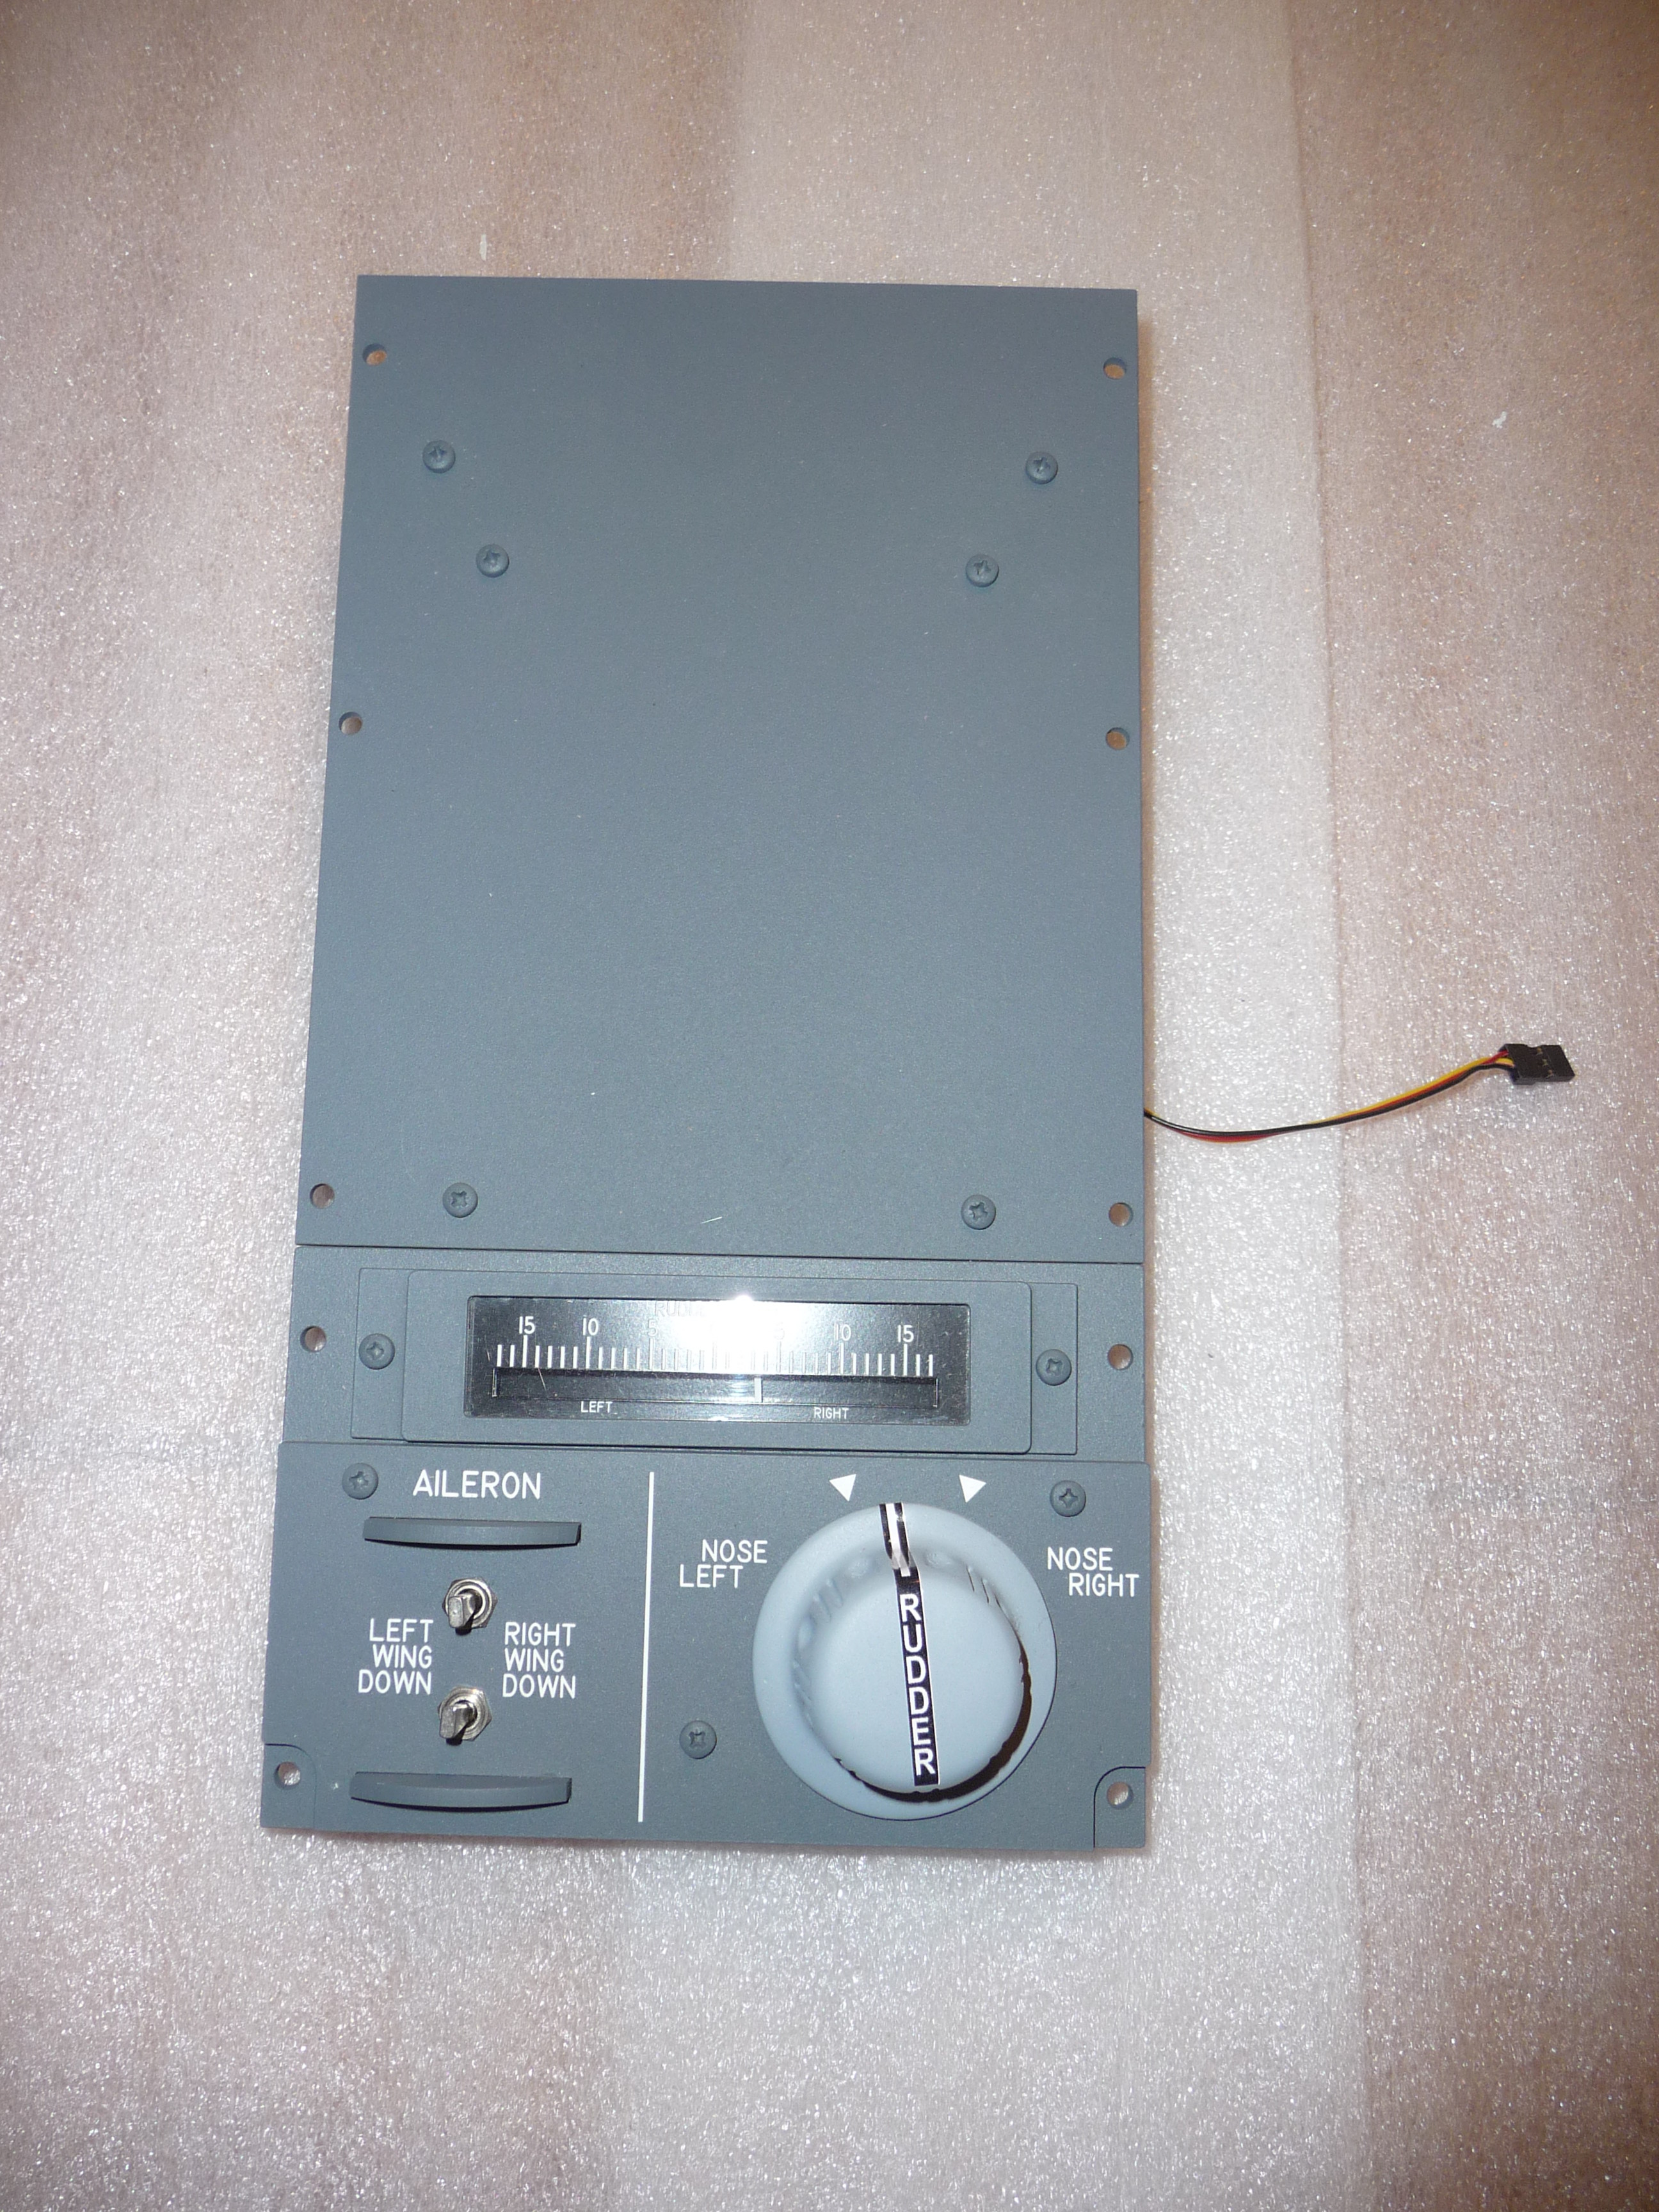
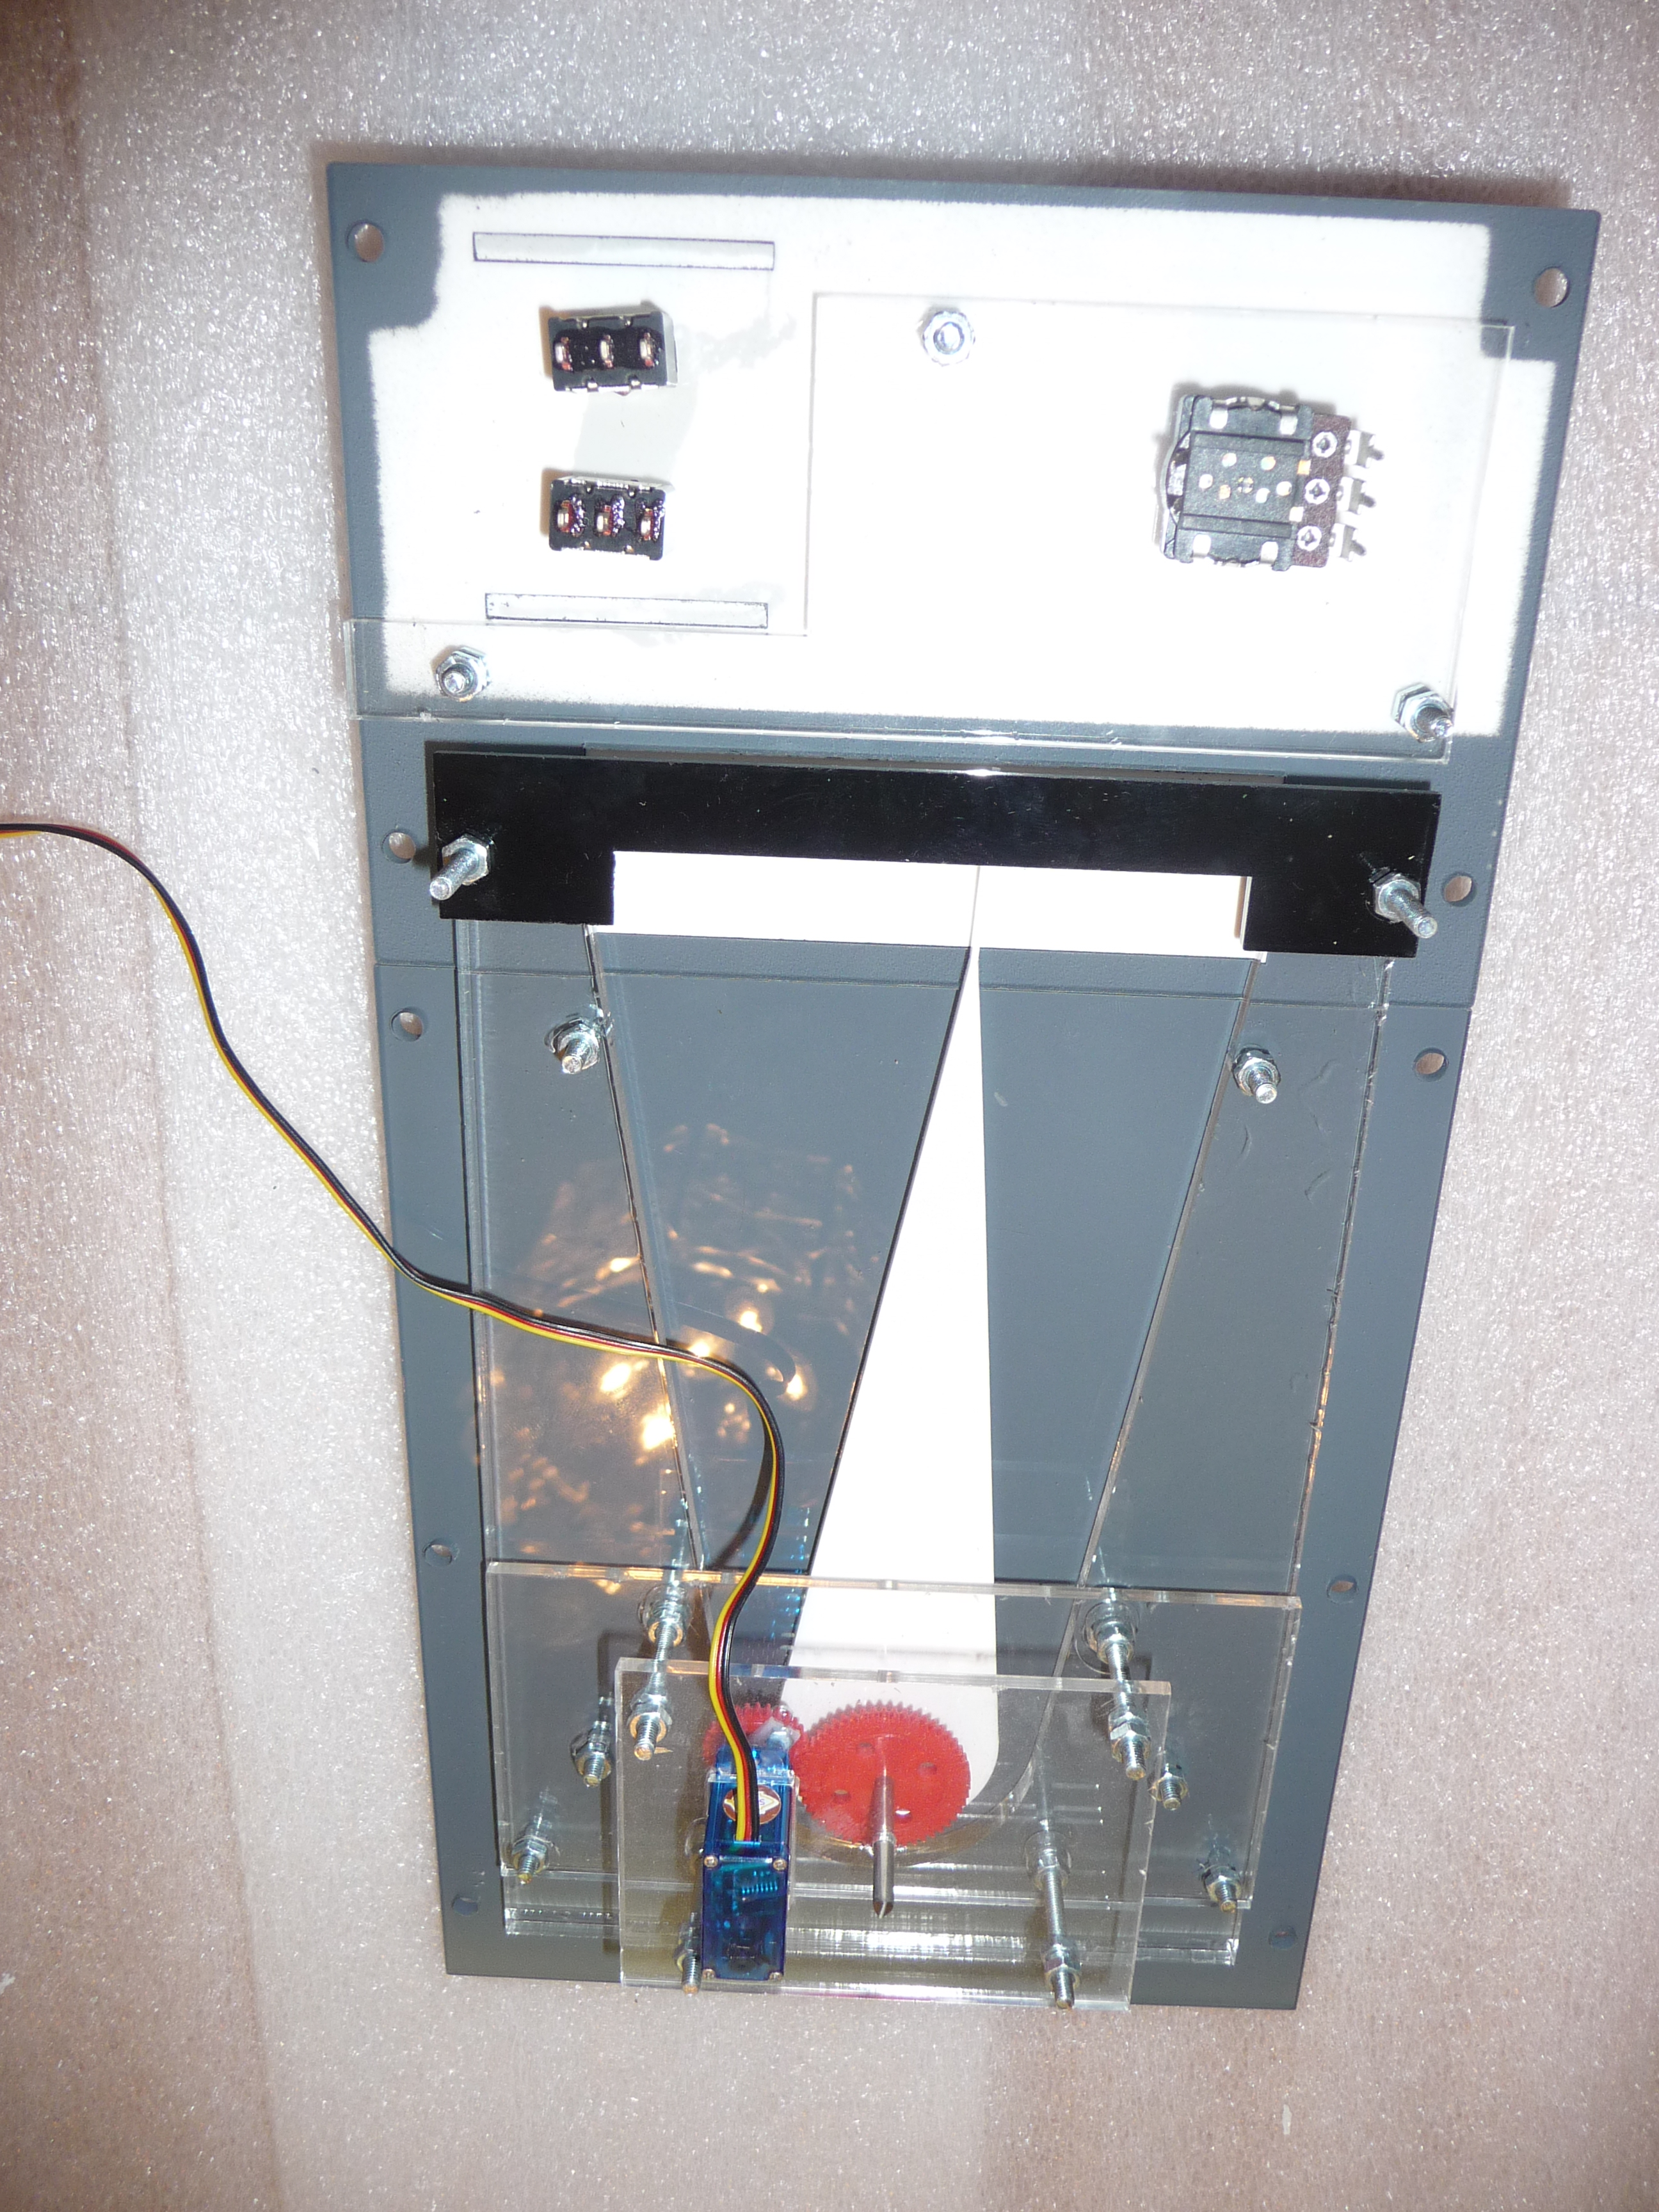
-The next challenge for me were the chronos. I’ve been using two of Joe Lavery’s chronos and they have been great. However I received two chronos from Opencockpits for Christmas and since they interface with the sim, I decided I would use them. I was disappointed to learn that the chronos did not fit in the FDS MIP! As I do not have a real chrono to measure I can’t say whether this is a problem with the FDS MIP or the OC Chrono but I was pretty pissed off. As Joe’s chronos fit the FDS MIP, I am leaning towards the Opencockpits Chronos not being to scale (more on this later). Still… OC doesn’t misrepresent their products and their documentation is readily available that details the sizes. I should have done a better job researching. Others beware though. I solved the problem by drawing up replacement backing plates and ordering them from Schaeffer AG (Frontpanel Express in Europe). A couple of coats of paint and you can’t tell the difference.
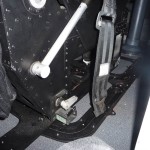
-The next issue to strike…. The AFDS modules. I had two FDS AFDS modules in my old MIP. They are version 1.0 though and the mounting holes did not line up with MIP 2.0 holes. Once again, my failure to research the difference cost me. I was able to fashion a mounting plate with PVC and that did the trick (more on this in a later post on interfacing).
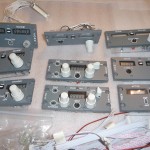
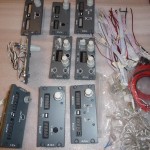
-Size variation strikes again. I have two Opencockpits CDU’s that I built a while ago. They have VGA screens and I have recently added backlighting. They work great and have no plans to replace them. Then I tried to mount them in the CDU bay… it seems that they are slightly larger than the space allotted in the CDU bay. I know people that have dropped real CDUs into the FDS CDU bay so I am going with this being an issue with Opencockpits and that they may be dealing imperial to metric conversion issues. At the end of the day not an unrecoverable error but still pretty disappointing. I will now have to 3D print an adapter that sits on the FDS rails and elevates the mounting surface to the level of the edge of the CDU bay. The CDUs will fit nicely above the lip.
-One last size variation that hit me on the MIP. Annunciator mounting holes. Real korry annunciators will not fit in the FDS MIP without some cutting/filing. Not a huge issue, but still something that needs to be done if you want to use real korry annunciator lights. This did affect my decision to buy my annunciators from simparts though. Luckily on this part, I only bought one before finding that out.
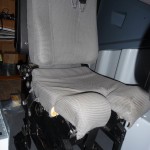
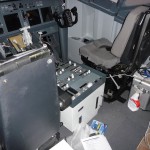
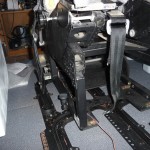
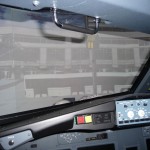
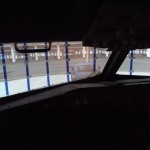
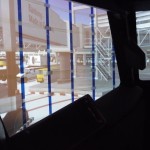
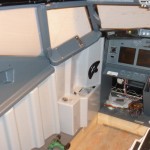
-I was impressed by the FDS MIP design. By itself it fits into a small box when disassembled. When assembled, it seems very flimsy. Care has to be taken that you don’t warp or bend it. The true genius in design is apparent when you add in the CDU bay. This locks the whole structure together and turns the MIP from a wobbly collection of steel panels to a rock-solid center-piece for your sim. I Definitely over-engineered the MIPs I built. I highly recommend that those buying the FDS MIP avoid skimping on price and just buy the MIP/CDU/glare package. The glare shield/top is a work of art. Clearly the best package and most realistic glare shield available.
So to summarize. I originally began my 737 sim with the intention of building everything myself. The further into it I got, the more impatient I became with the time it was taking for me to build parts on my own. That resulted in my buying parts as I went (real panels, MIP panels, Pedestal panels, overheads, CDU’s, interfaces etc.) which resulted in my having a ton of mismatched parts and pieces on hand. None of these parts really fit together and I ended up buying new panels and interfaces which added to the pile of parts I had on hand (and spent money on). Throughout the process, I justified each step as a small savings which really wasn’t realized as I was still buying other parts. Bottom line:
!!!IF YOU REALLY WANT TO ENJOY YOUR SIM, SAVE YOUR MONEY, PICK A VENDOR AND BUY THE WHOLE BASIC SETUP FROM THEM!!!
You will save thousands in the long run, and you will be flying right out of the box. Buy in bulk modules as you have money. This is the order I recommend:
1. MCP, EFIS and CDU – use a general yoke and computer monitors for visuals. Invest in a in the MCP, EFIS and CDU (all you need is one). This is all you need to learn to fly and use all the systems.
2. Forward Overhead – As you’ve been learning how to fly while saving the money, you are now ready to add the rest of the systems. You still don’t need an actual MIP or CDU bay. Pay attention here. If you find you are NOT willing to pay the money for an overhead, you have just saved thousands as you have proven you don’t really have the will to invest in a type specific aircraft.
3. MIP and CDU bay – If you have bought your overhead and still want to move forward now you can start saving for the MIP and CDU bay. It is at this time that you will also be thinking about liners. If you choose to buy liners, I recommend you stick with the same company for MIP and liners.
4. Now that you have an enclosed cockpit, all the rest of the stuff is ready for purchase. By this time you have no qualms throwing down a couple hundred at a time to “finish” up.
Good luck!

 120 EUR and free Worldwide shipping